
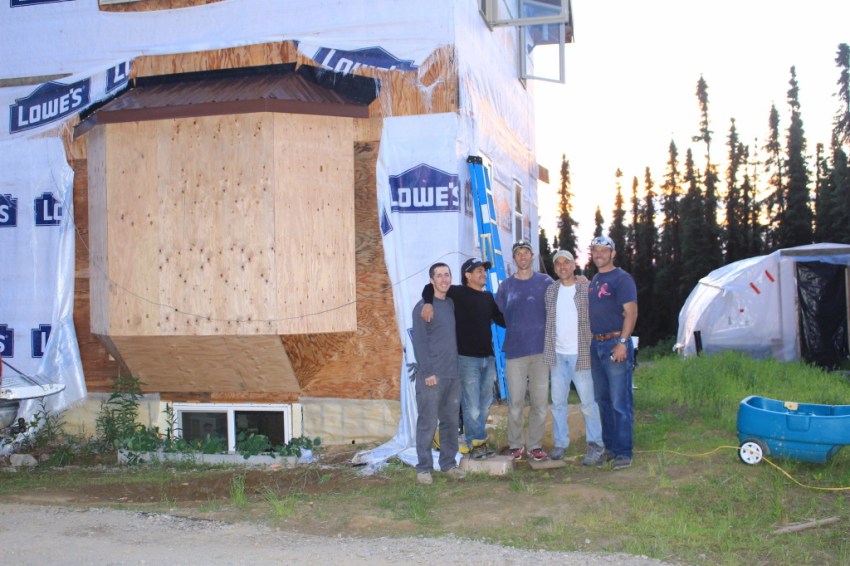
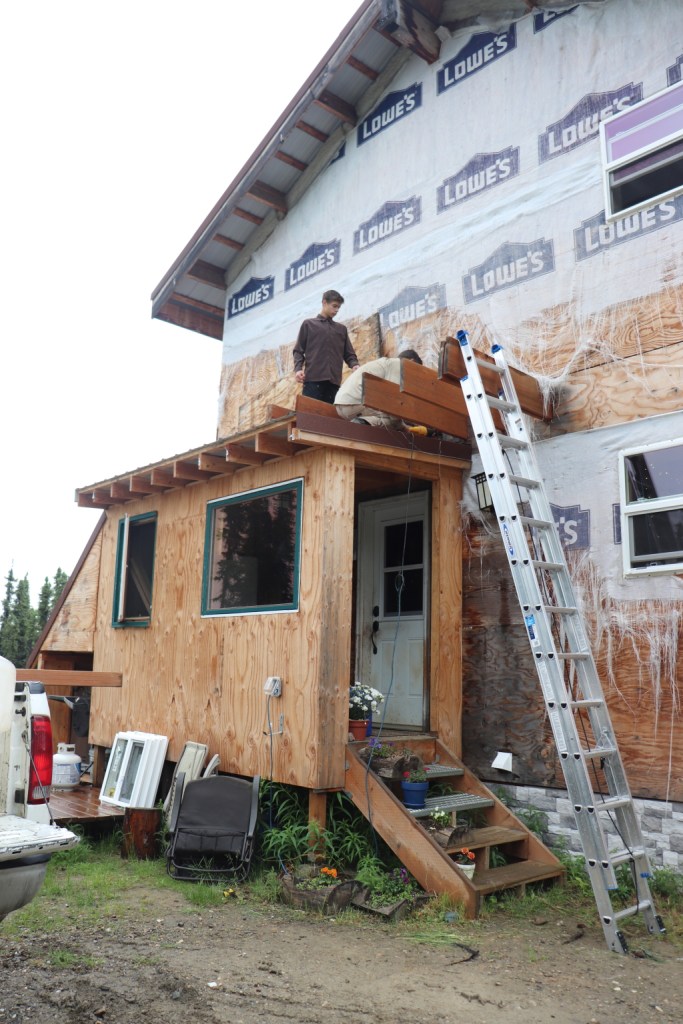
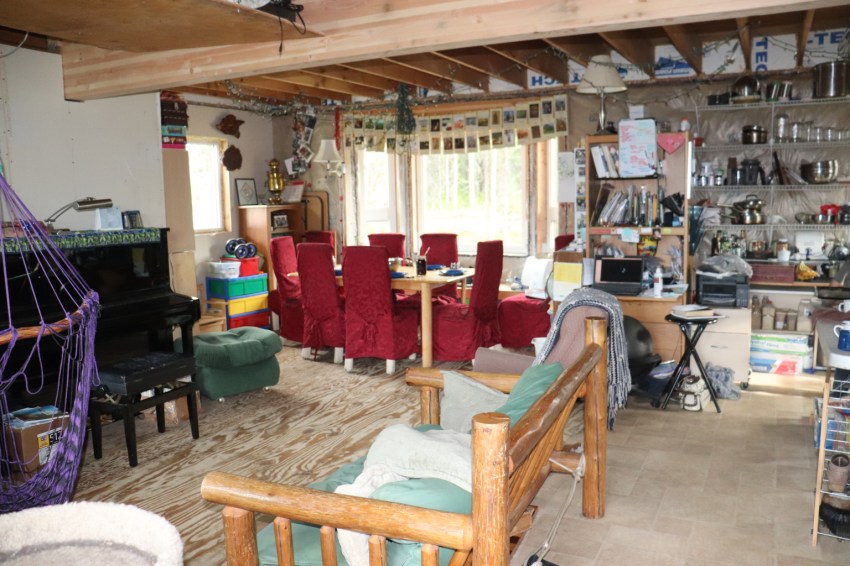
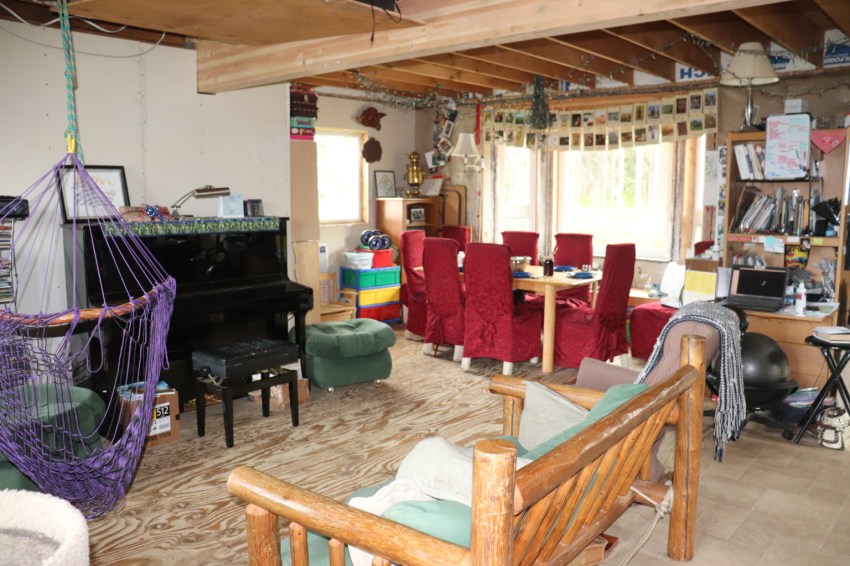
When we started building our house in 2010, one of the envisioned features of the final product was a bay window in the dining area. We began by just framing in the area of the wall where it would go, and, like the rest of the house, it was insulated a covered with vapor barrier. In 2017, God blessed us with a work team from our overseeing church, and they had the expertise to frame in the bay window with window seat. Earlier this month, we were again blessed to go to the next stage and finally add the windows! What a difference! It is a joy to have the view, light, and space to feel like the table isn’t simply pushed up against a wall!


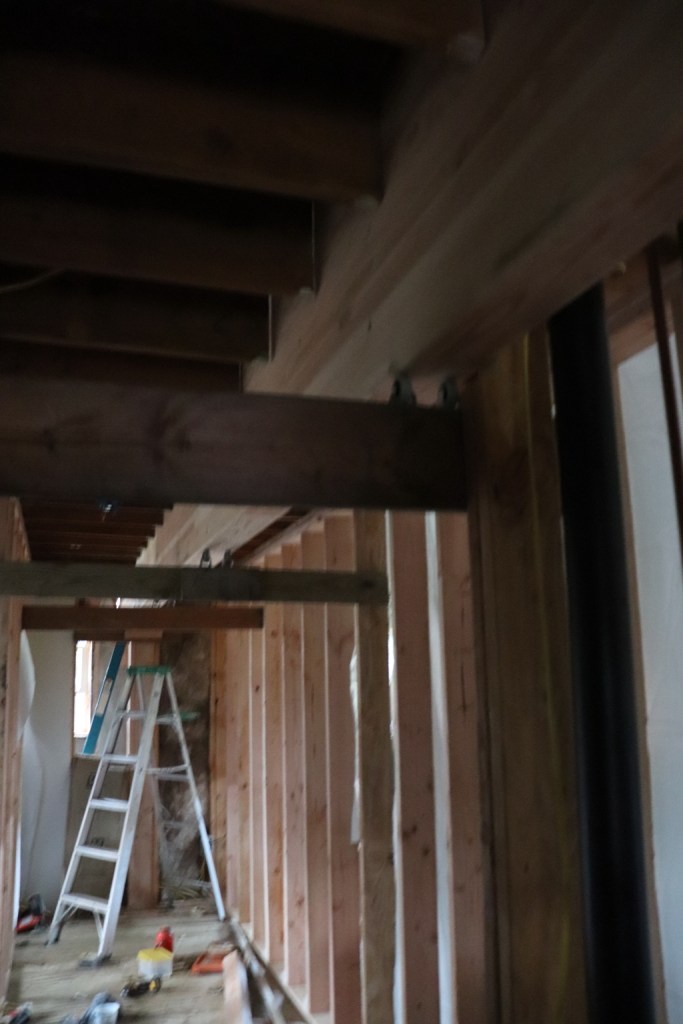
Getting the windows installed was actually one of the several “outside wall”-involved projects prefacing our main project for the summer: siding!! Before we could do anything else, we had a structural issue to address: the main beam that supports the second floor. Because of its span, a post had to be a fixture in the middle of the first floor, and it was also noted to be sagging some. After some engineering consultation, we began what became a 2-week project to replace the 12″ high beam with a 24″ one. Lots of prayer, ingenuity, muscle – and we are thankful to have come through injury free and with an improved structure!
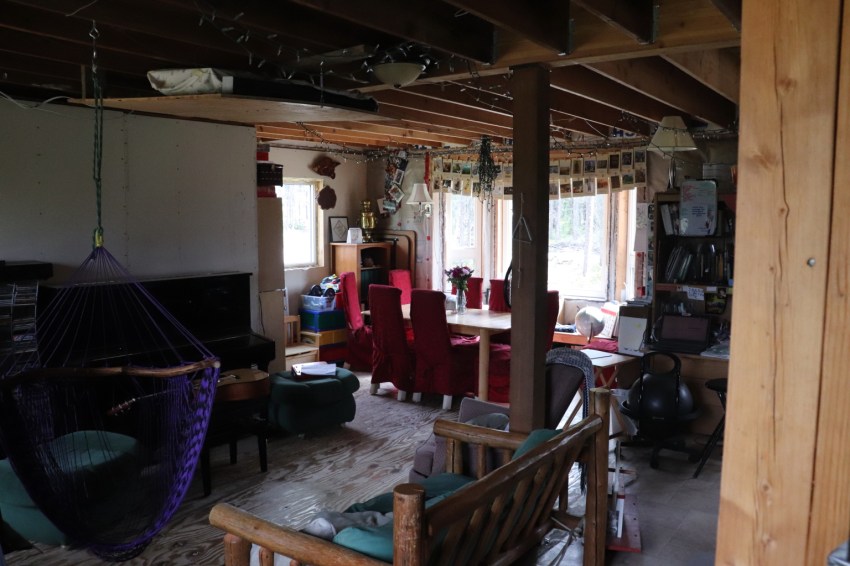

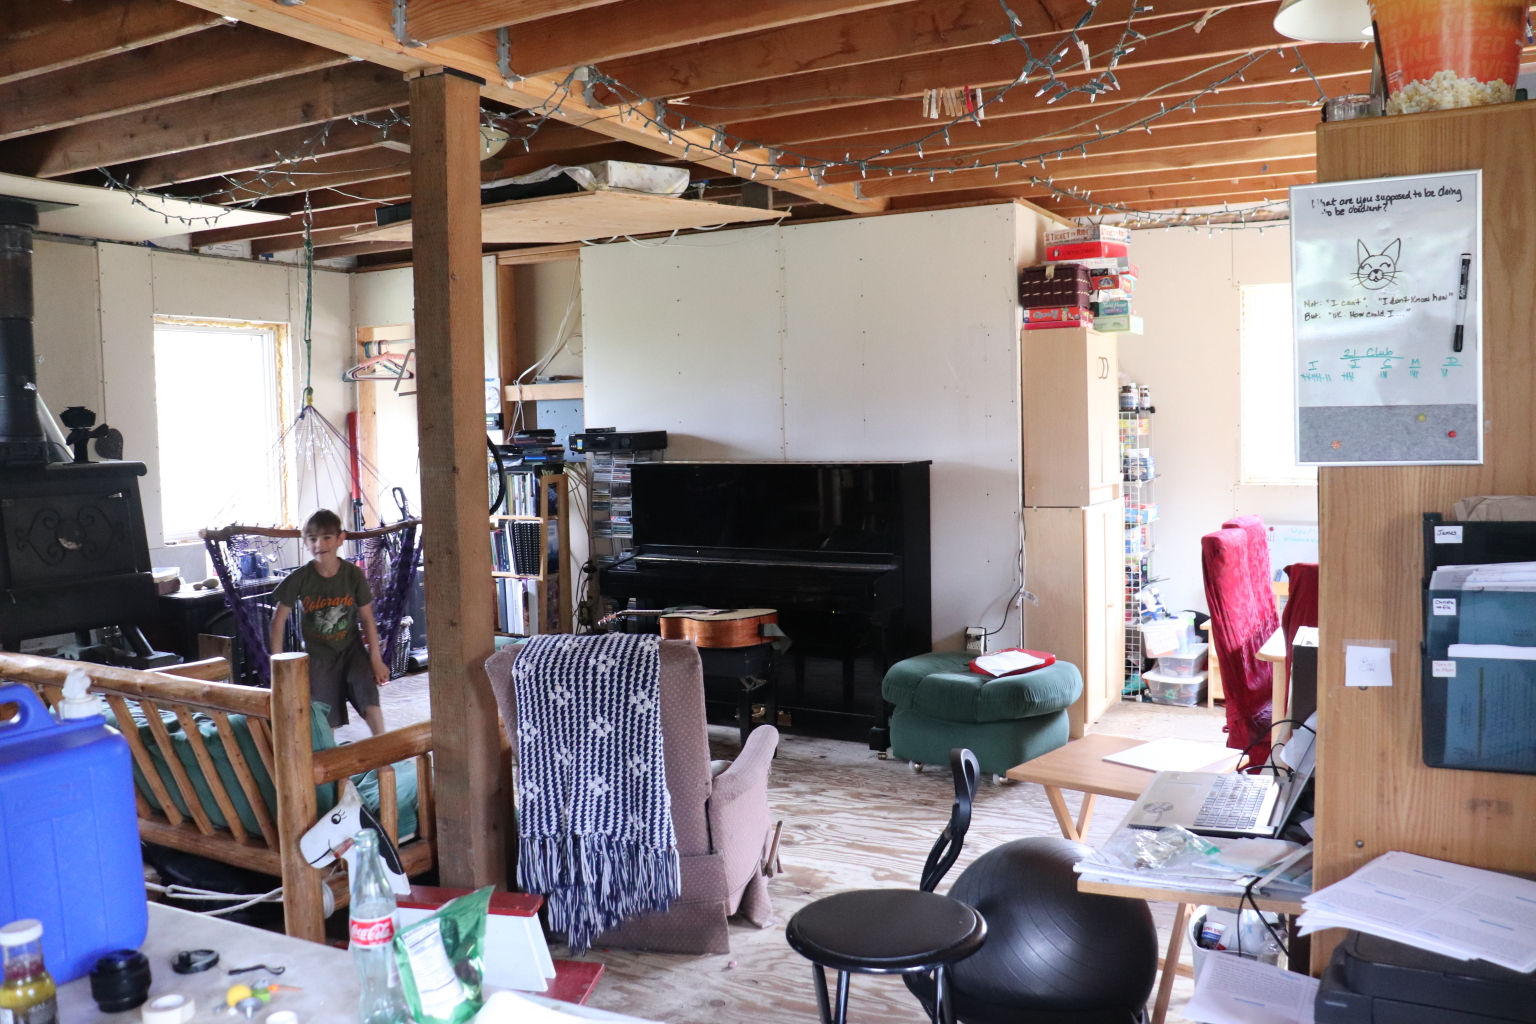

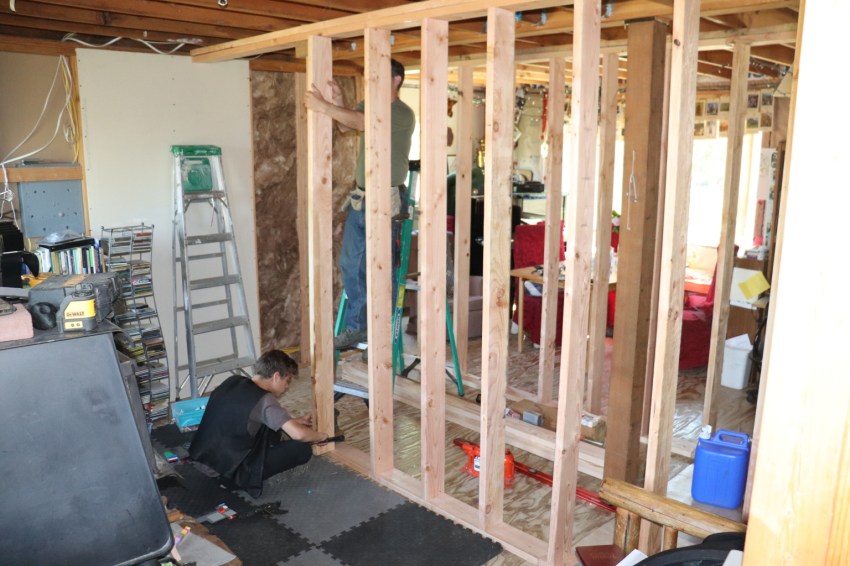
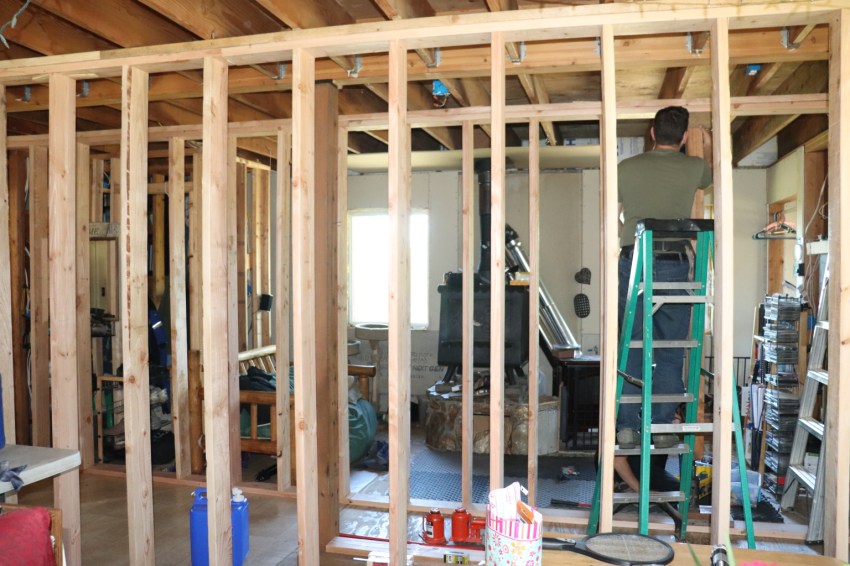
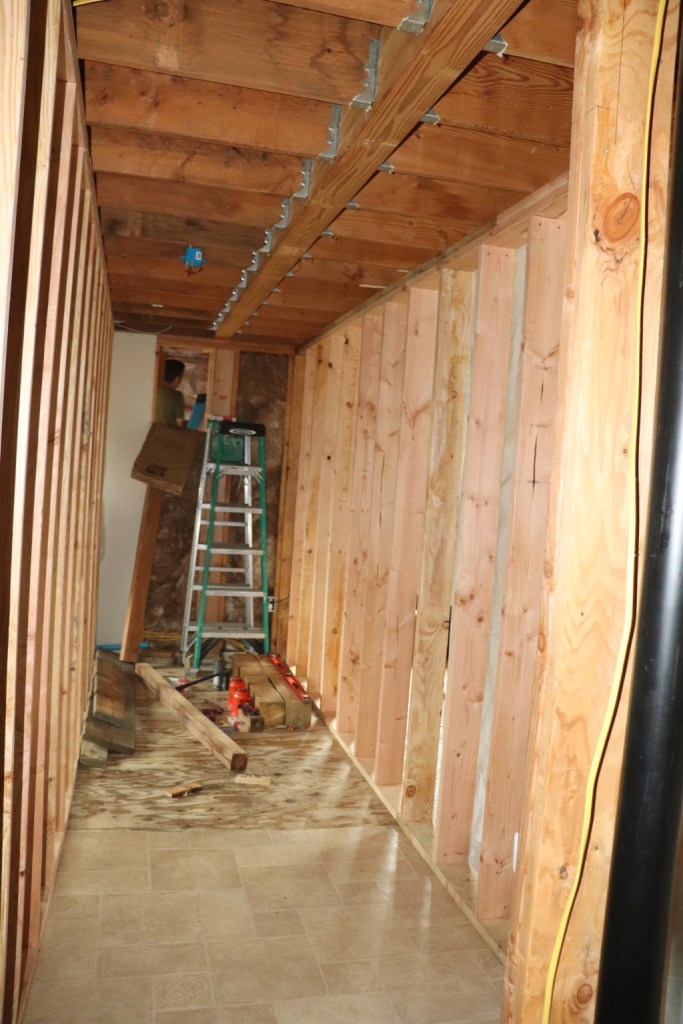
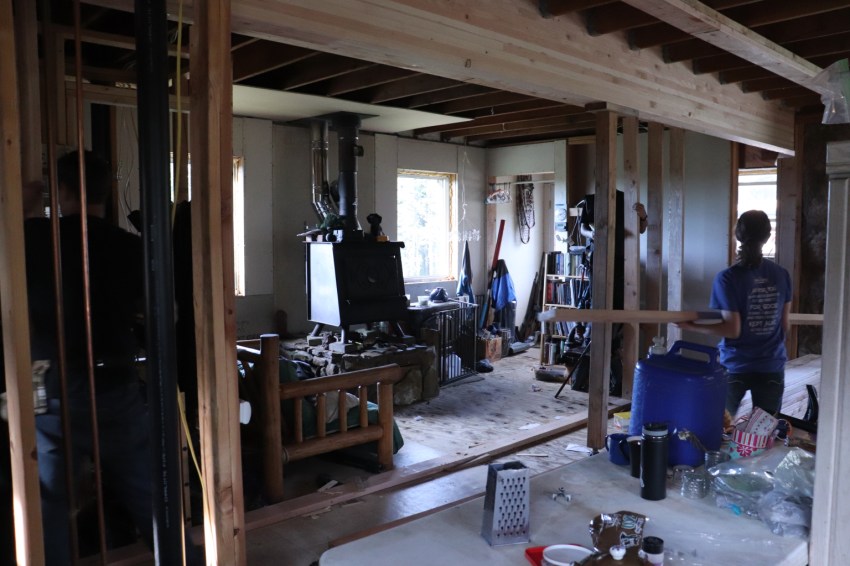
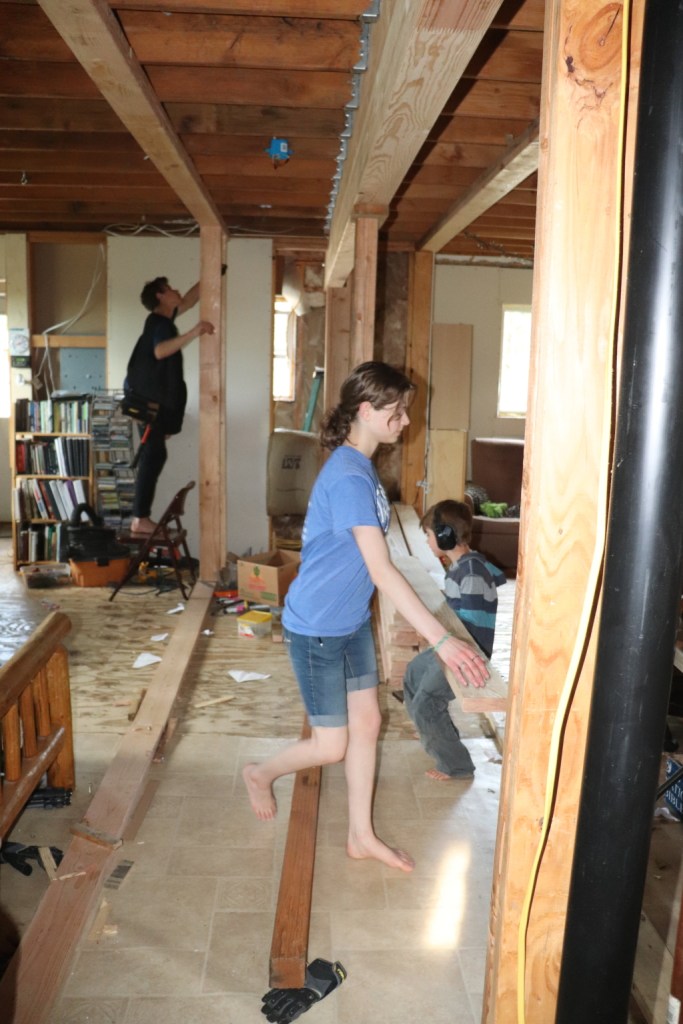
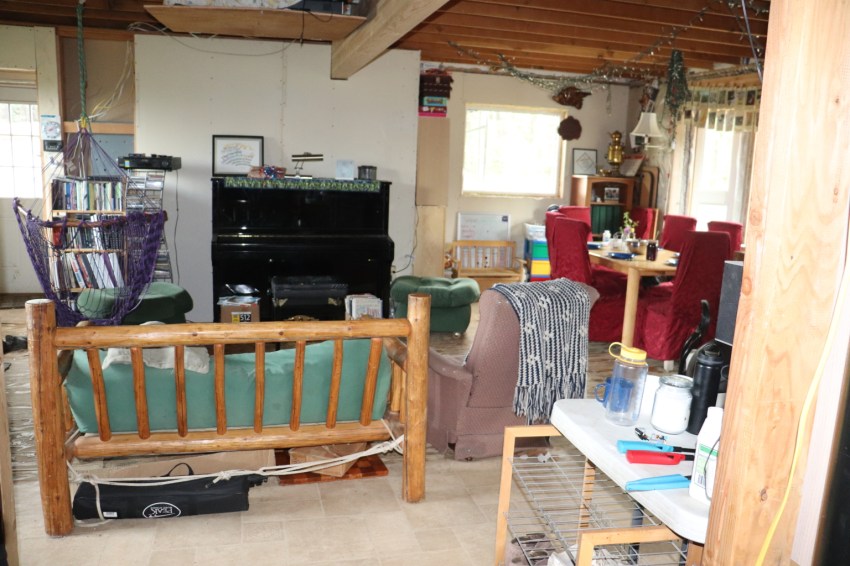
Step 1: Build a supporting wall on each side of the beam to support the 2nd floor (rearranging the kitchen and living room as well). Posts were also installed in the basement beneath these temporary walls.

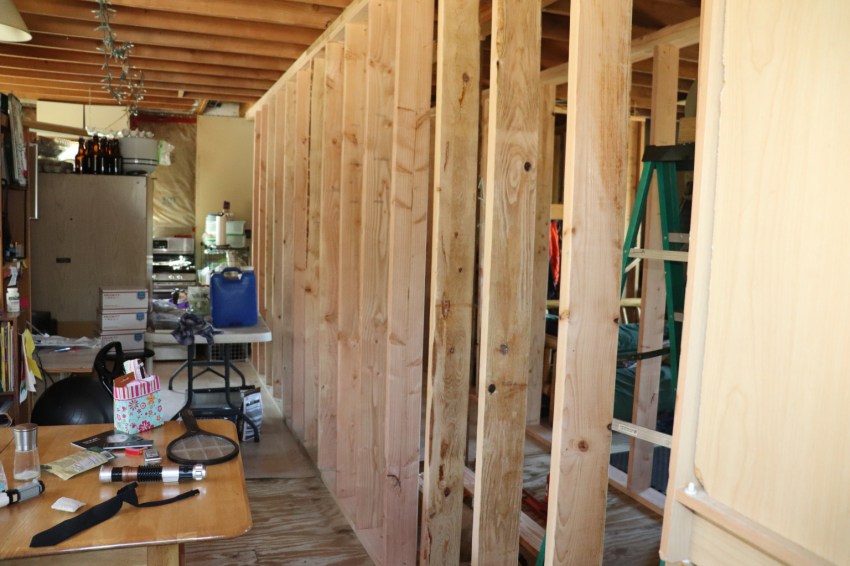
Plastic was hung on the outsides of these walls to try to keep dust contained. Going from the dining room to the kitchen was an adventure! 😉
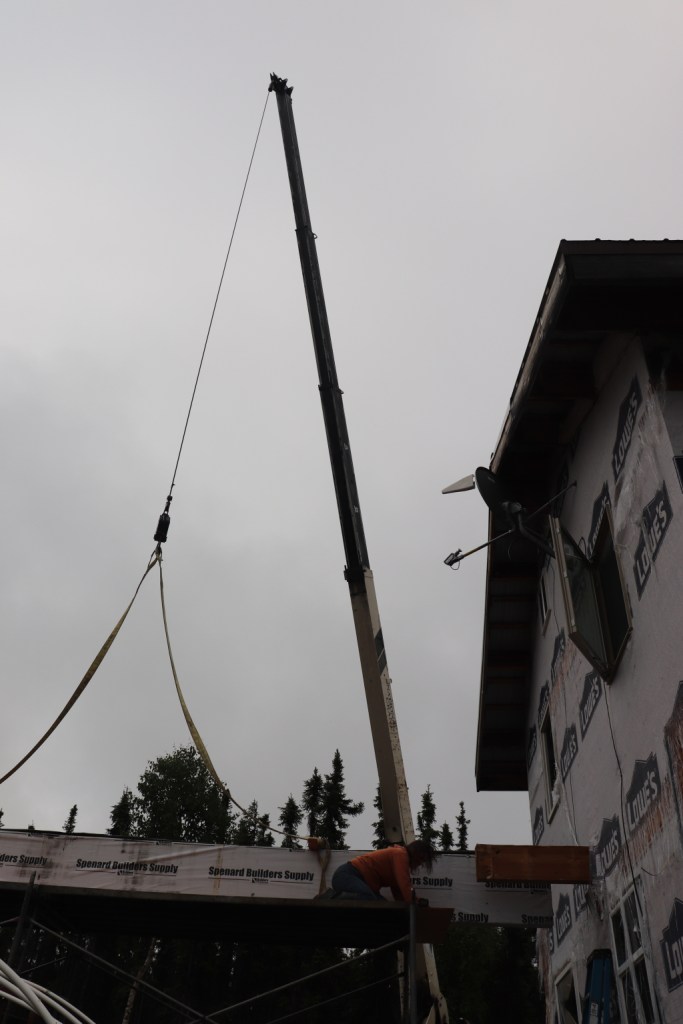
Commercial break: nearby fire to keep an eye on, about 4 miles away. It was hammered hard by water-dropping planes, and we were on the 3-plane formation’s direct flight path night and day. It grew to over 500 acres, and we’re thankful for the tireless crews who kept after it. (2nd pic: the specks in the sky are the planes :))


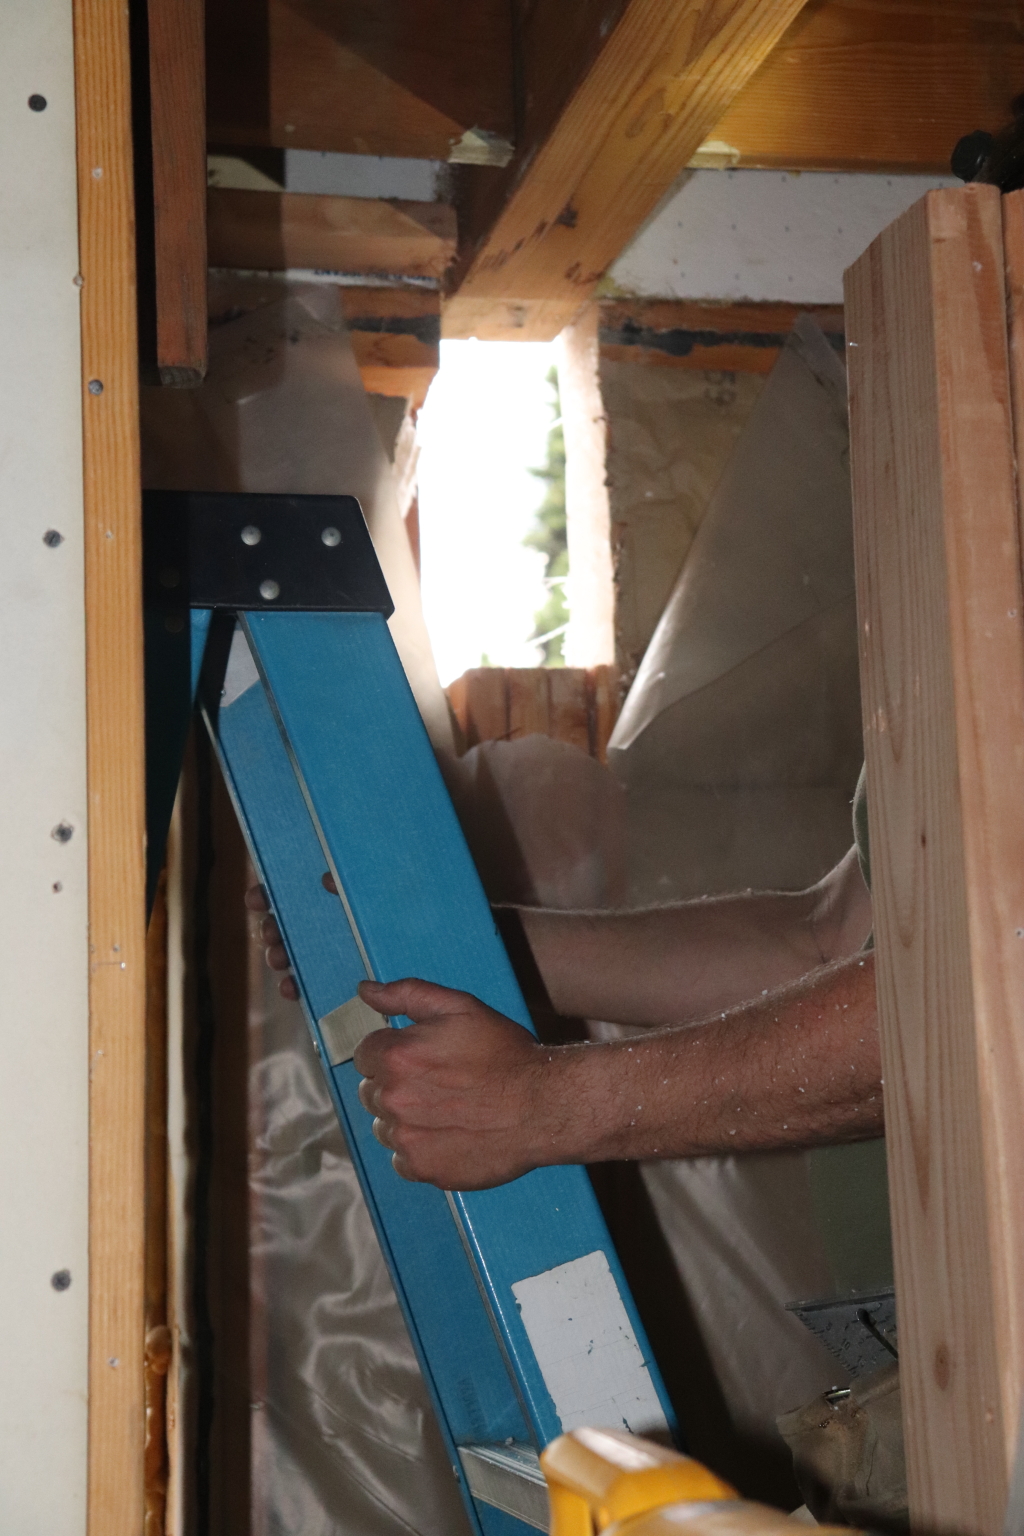
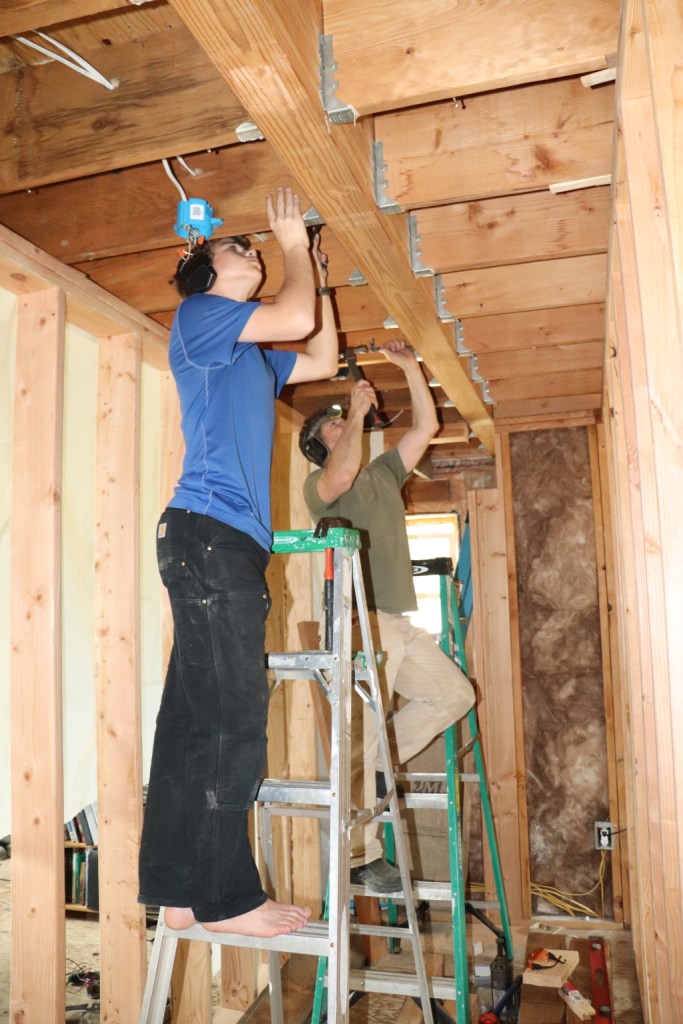
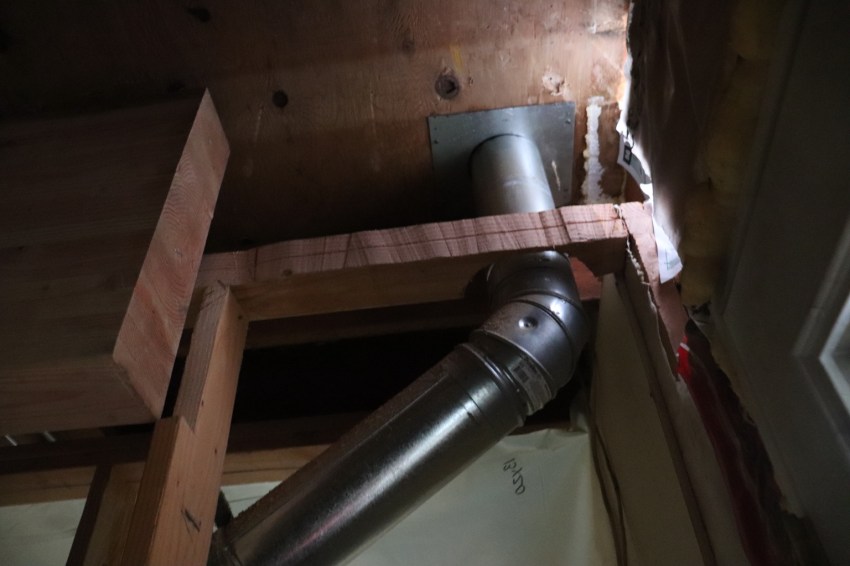
Cutting beneath the existing beam to have room to drop it down for removal as well as the space for the new one

Removing floor joist hangers to free the beam
Wild roses peaked during these beautiful days – we love the show and scent that surrounds our yard!

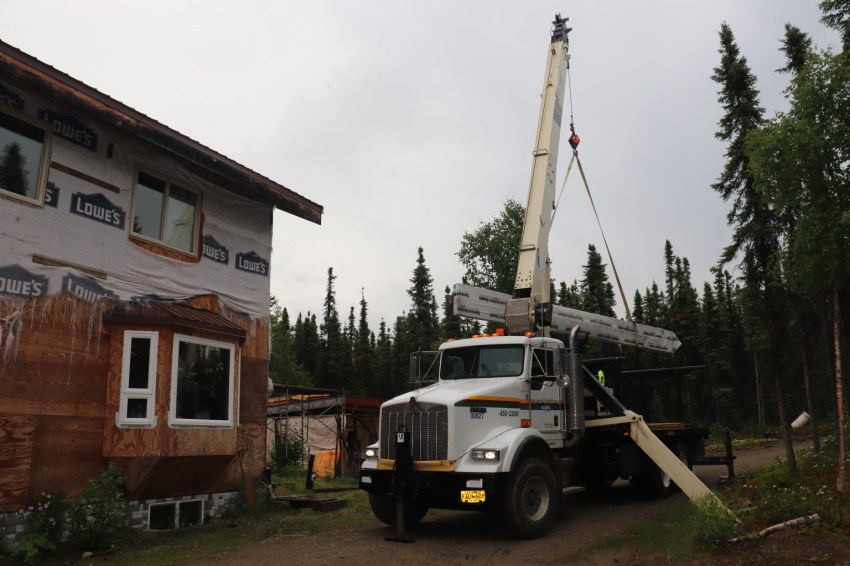
The boom truck with the new beam arrived in the morning rather than the afternoon as scheduled, so our tempo for pushing the old beam out had a sudden panicky increase
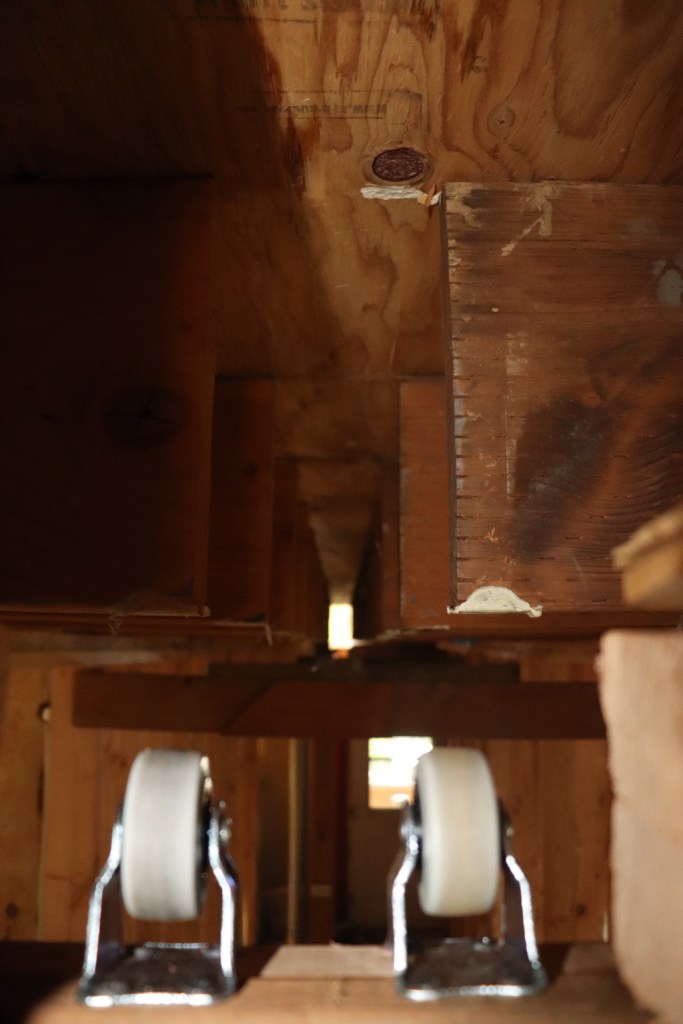
James had installed a system of rollers (on cross pieces) for dropping the old beam onto in order to more easily push it out from one end
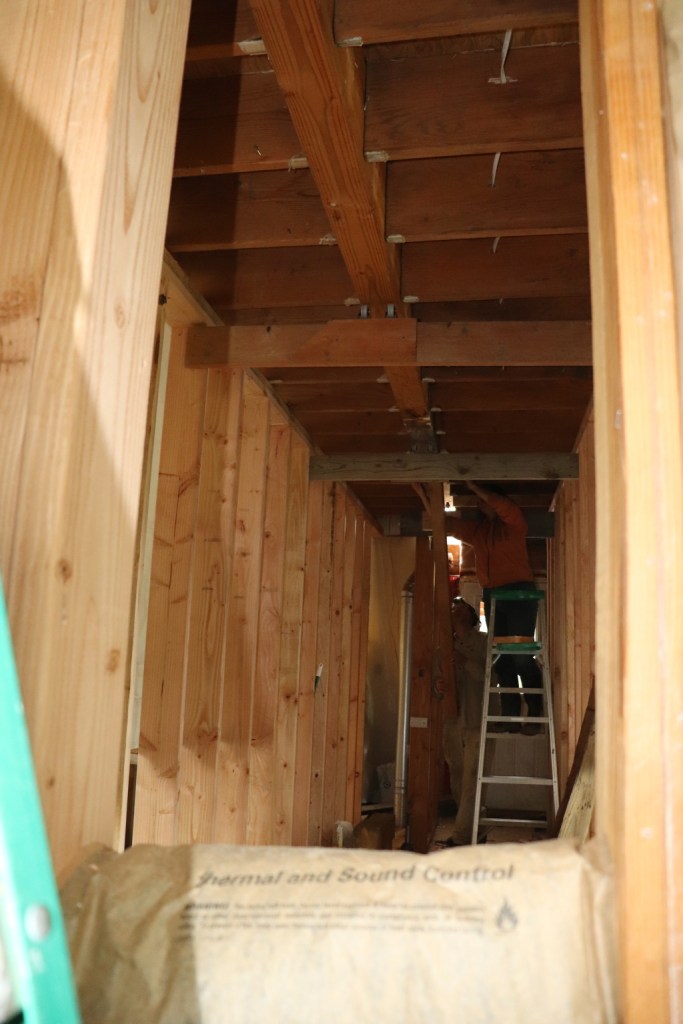
Aaaand it’s clear!

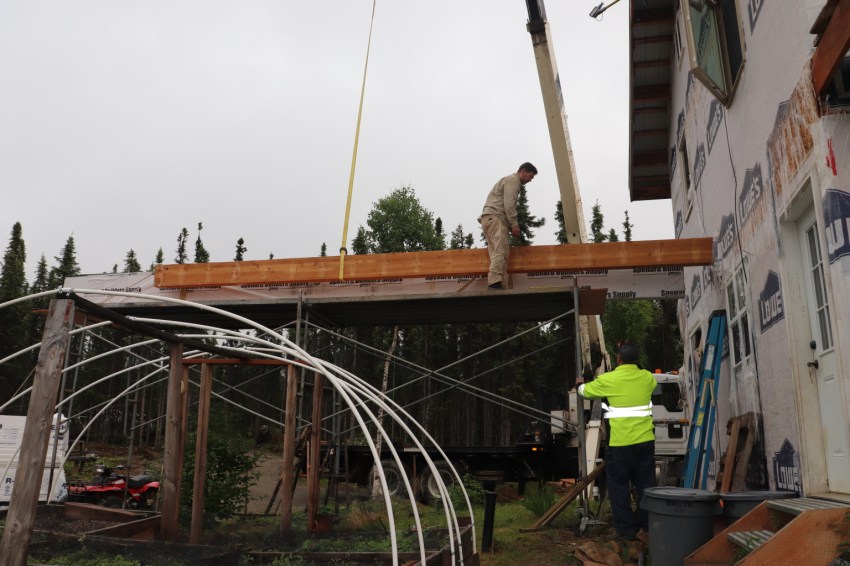
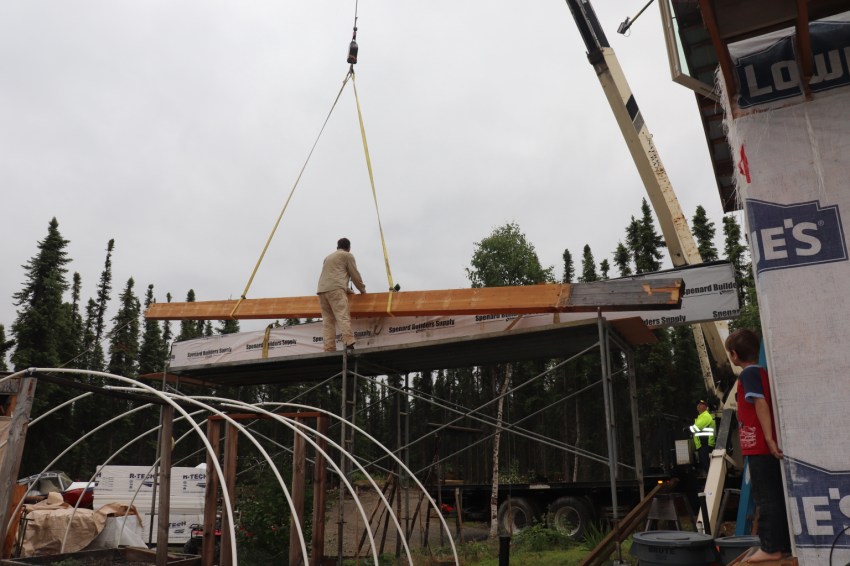
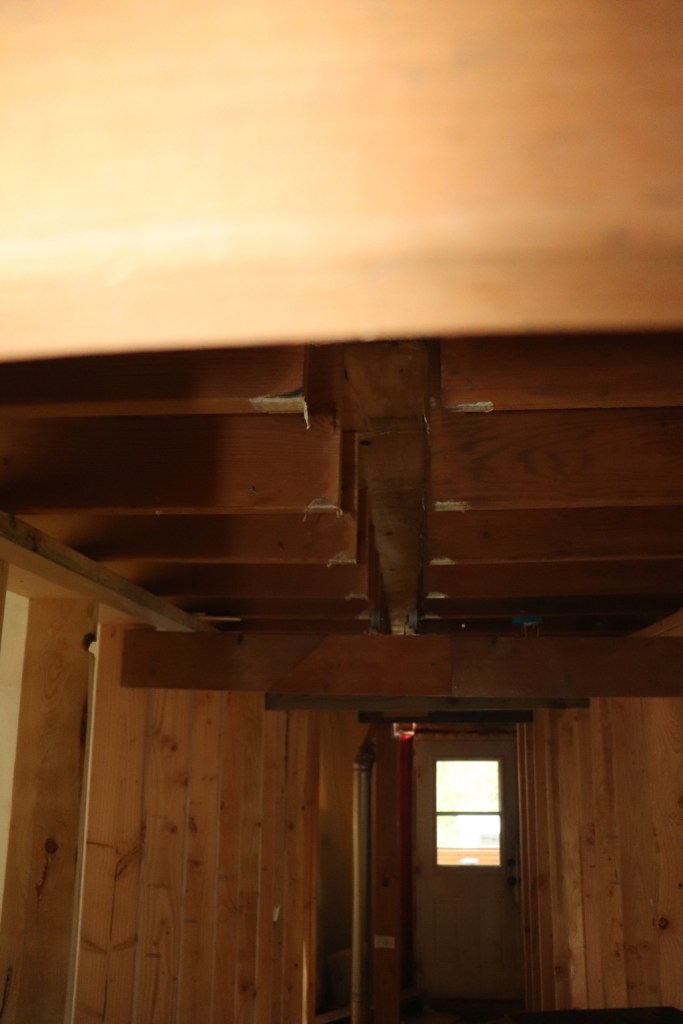
In with the new!


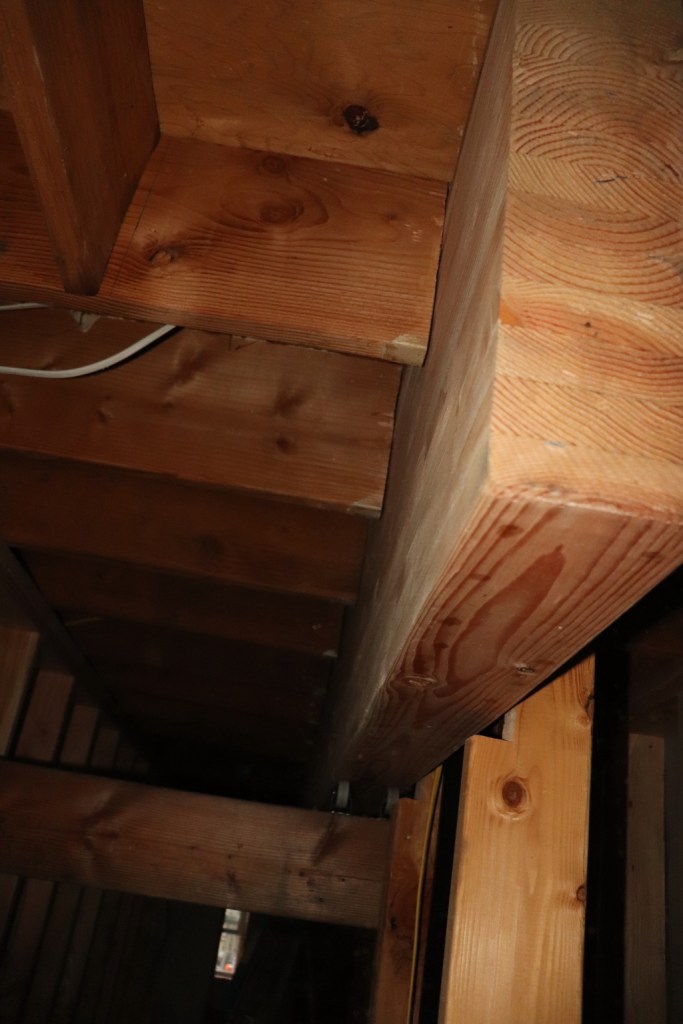
Each floor joist was individually jacked into place and then attached with hangers

And then there was the fastest deconstruction party you ever saw to get those two temporary walls down

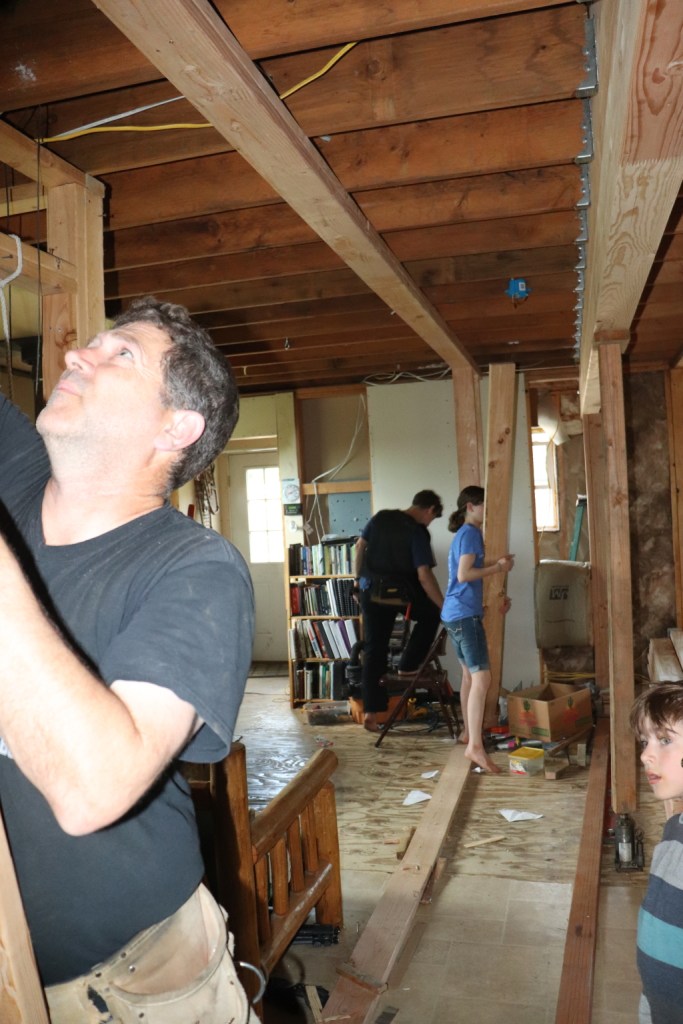
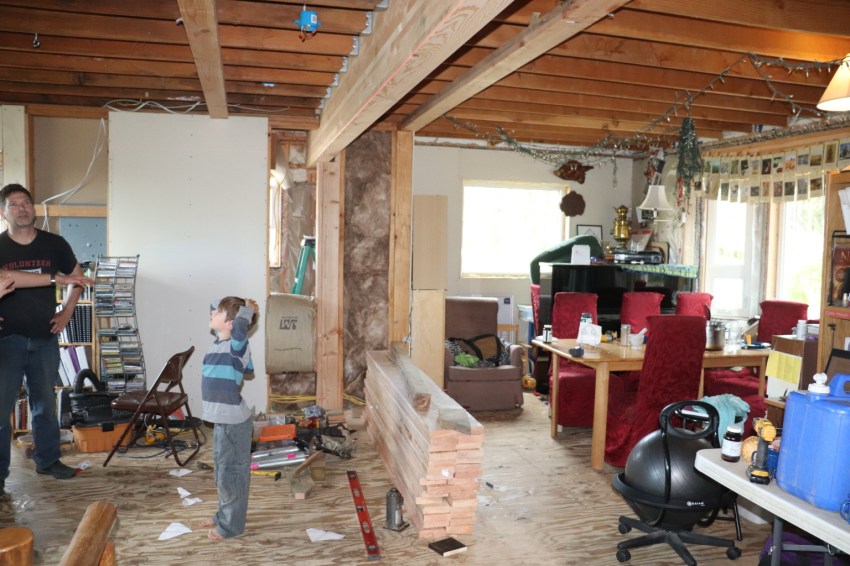
Space and stability! James is pretty pleased to have zero deflection in the beam when the walls were removed, and the joists are visibly straight.
And now…on to the next! Prepping soffits for siding.

